Solar energy has become one of the most reliable, cost-effective ways to reduce electricity bills while also
lowering your carbon footprint. In regions with abundant sunlight, such as South Africa, homeowners are
increasingly opting for solar energy. However, understanding how to install solar panels on your roof is crucial
to ensure an efficient system and avoid costly mistakes. This step-by-step guide will walk you through the
process, from selecting the right type of solar panel roof to installation. Whether you are a DIY enthusiast or
hiring professionals, this guide will help you navigate the installation process for an efficient, long-lasting
solar system.
Understanding Photovoltaic Solar Panels
Before you dive into installing solar panels on your roof, it's important to understand how photovoltaic (PV)
panels work and what types are available. This knowledge will help you make informed decisions, ensuring you
choose the right system for your home.
Photovoltaic (PV) panels convert sunlight into electricity using semiconductor materials. There are two main types
of solar panels available:
• Monocrystalline panels: These are more efficient and have a longer lifespan, but they come at a
higher price.
• Polycrystalline panels: While slightly less efficient, they are more affordable, making them a
popular choice for budget-conscious homeowners.
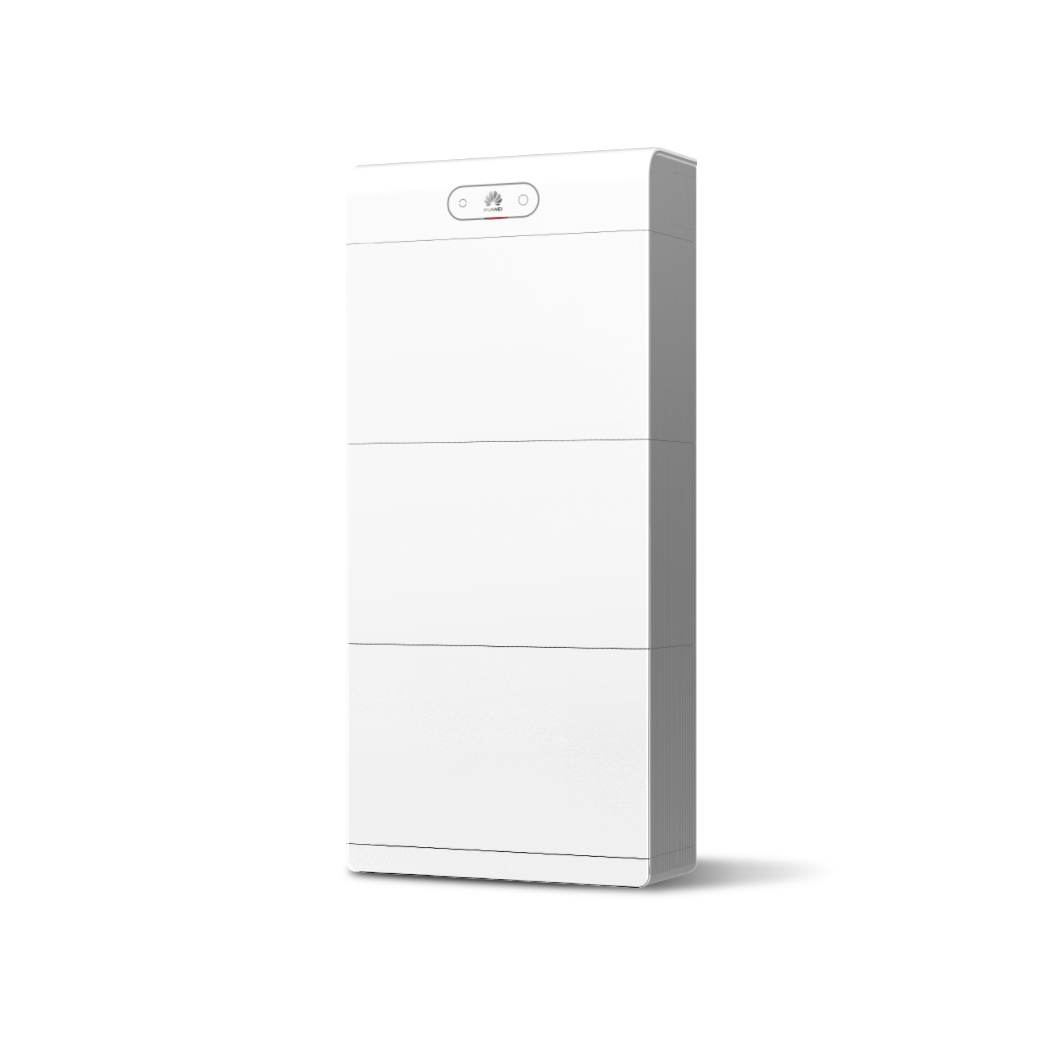
In addition to the panels, a complete solar system includes inverters. Some systems also include batteries for
storing excess energy. Choosing the right system depends on several factors, including rooftop solar system price,
energy needs, and available space on your roof.
Preparing Your Roof for Solar Panel Installation
Before you can begin installing solar panels on your roof, it’s crucial to ensure that your roof is in good
condition and suitable for solar installation. Proper preparation not only ensures a smoother installation process
but also extends the lifespan of both your roof and your solar system.
Start by inspecting your roof for any damage, such as leaks or cracks, that should be repaired before
installation. Additionally, check the orientation and angle of your roof. In South Africa, a south-facing roof is
ideal for maximizing sunlight exposure. Ensure there are no obstructions, like tall trees or nearby buildings,
casting shadows on your solar roof tiles.
Another critical step is checking local regulations and securing the necessary permits before starting the
project. Some areas may offer financial incentives or rebates for homeowners installing rooftop solar PV systems,
so make sure you research your eligibility for these programs.
Step-by-Step Solar Panel Installation Process
Once your roof is prepared, it's time to move on to the installation. Whether you're installing the system
yourself or hiring professionals, following these steps will ensure a smooth and efficient process.
Gather Materials and Tools
Before beginning the installation, assemble all necessary materials and tools. These typically include solar
panels, mounting brackets, inverters, wiring, and essential tools such as drills, ladders, and safety equipment.
Be sure to thoroughly review the manufacturer’s guidelines to avoid mistakes, particularly if it's your first time
mounting solar panels on a tile roof.
Install the Mounting System
The mounting system is the foundation of your solar installation. Carefully position the mounting brackets to
maximize sunlight exposure. Align the brackets at the correct angle to capture the most sunlight. Properly secured
brackets are essential for a stable installation and will prolong the life of your rooftop solar system.
Secure the Solar Panels
Once the mounting system is in place, it's time to attach the solar panels. Ensure the panels are firmly secured
to withstand harsh weather conditions. It's also important to position the panels in a way that optimizes exposure
to sunlight, ensuring maximum energy efficiency.
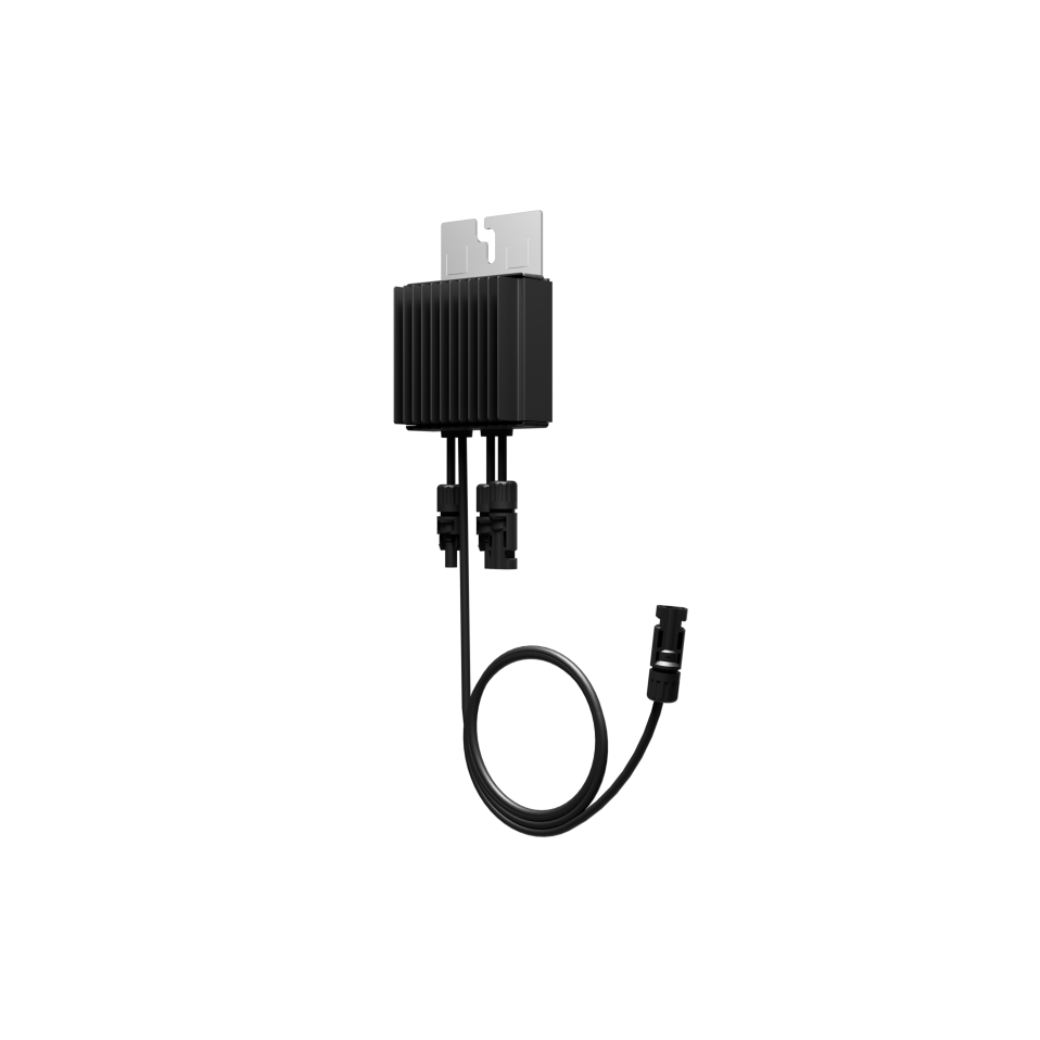
Wiring the Solar Panels
Next, you’ll need to wire the solar panels to the inverter. This step requires precision, as improper wiring can
result in energy loss or system malfunction. Follow the manufacturer's wiring instructions closely, or consider
hiring a certified electrician if you're unsure how to handle this step.
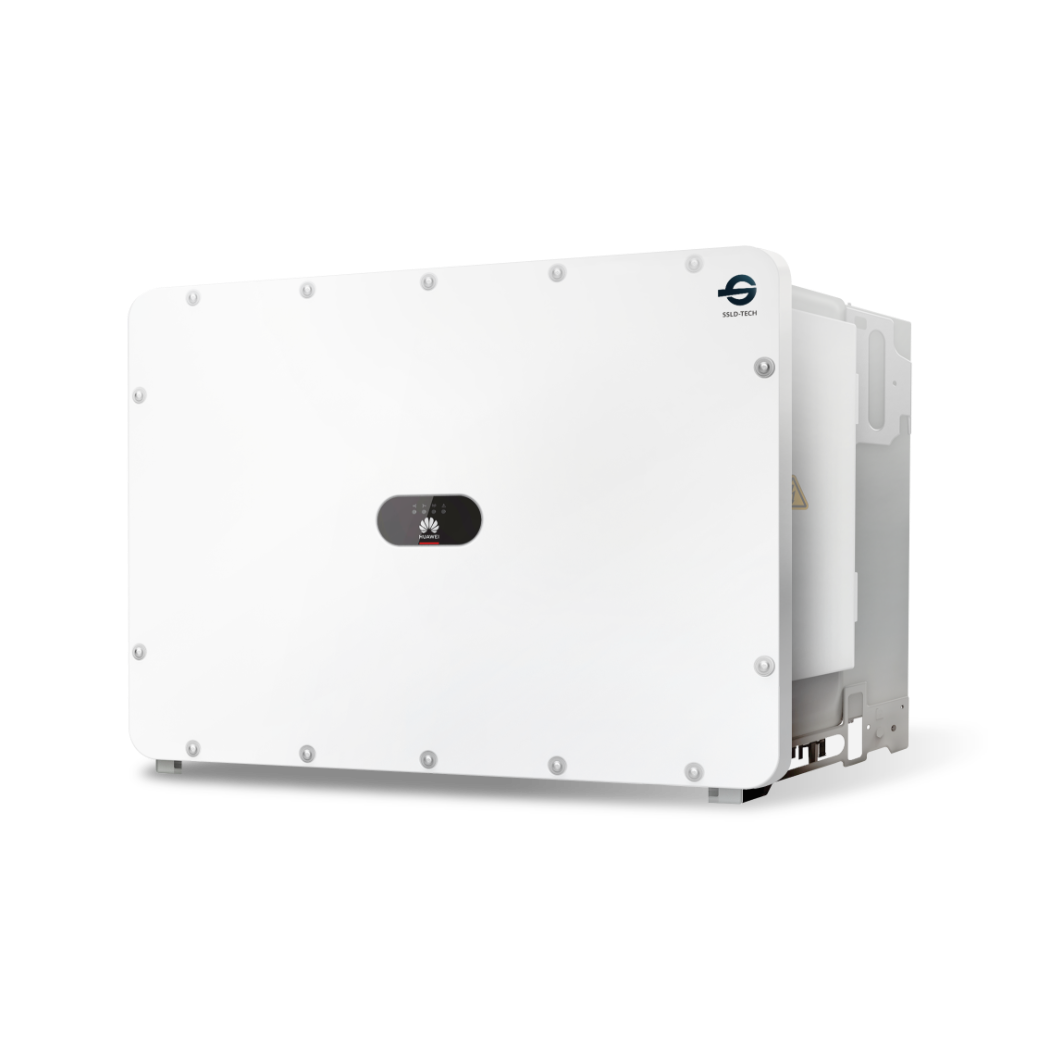
Install the Inverter and Battery (if applicable)
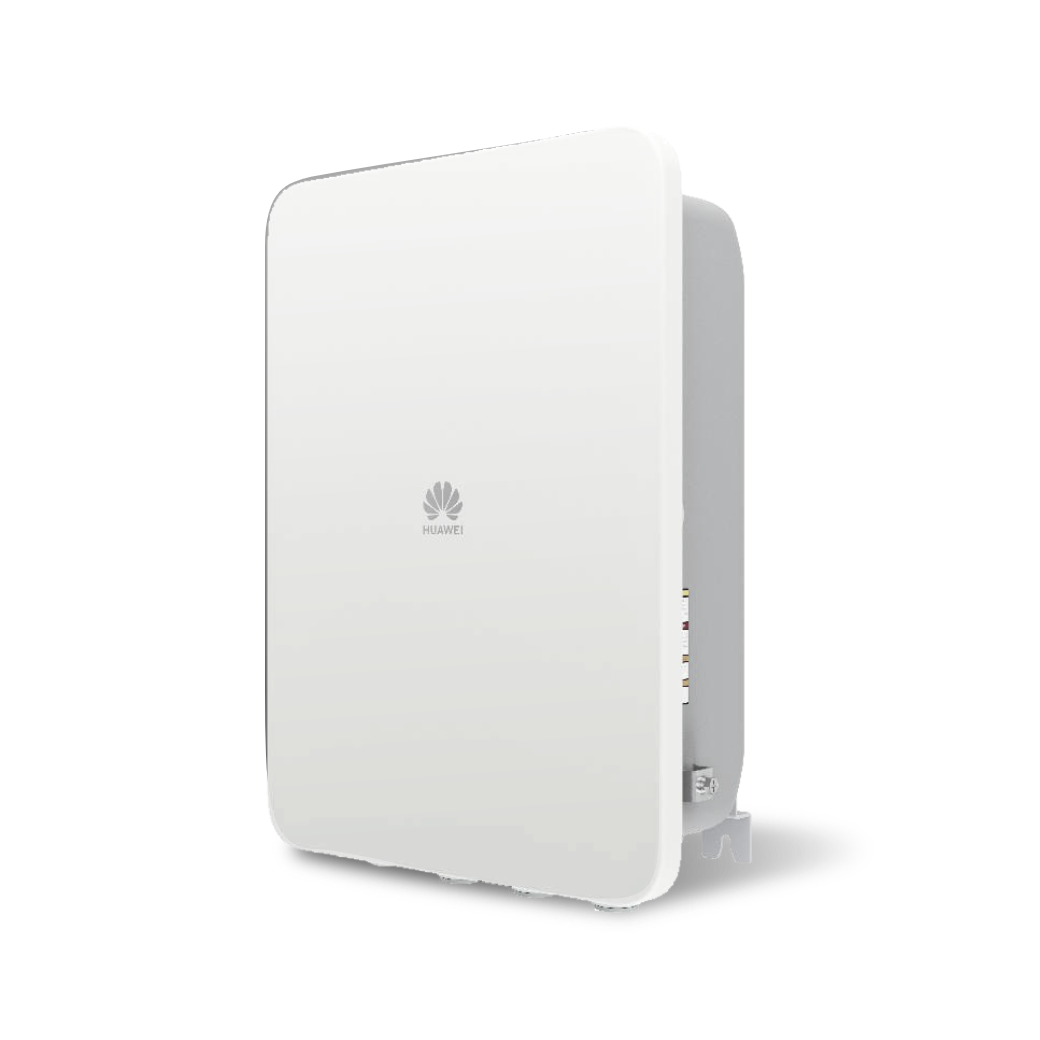
The inverter is a crucial component of your solar energy system, converting DC electricity to AC electricity. If
your system includes a battery, this will store excess energy for use during times when sunlight is scarce.
Install the inverter close to your main electrical panel for easy access.
Connect to the Electrical Grid or Set Up Off-Grid
Finally, connect your solar system to the grid or, if you prefer an off-grid setup, configure your system
accordingly. This step typically requires professional help to ensure compliance with local regulations. A
certified electrician can help with the final connection to your home’s electrical system.
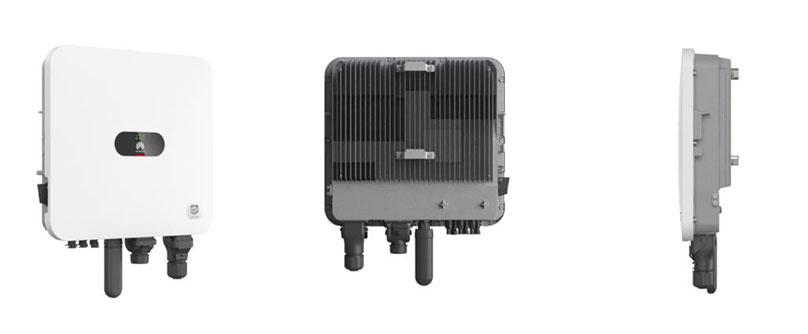
A successful solar panel installation involves careful preparation, attention to detail, and the right tools.
Following this process step by step, and using trusted solar panels and inverters like the FuSionsolar SUN5000 Series,
ensures that your system will be safe, efficient, and long-lasting.
Common Mistakes to Avoid During Installation
When learning how to install solar panels on your roof, it’s important to be aware of some common mistakes that
can impact the effectiveness and safety of your solar energy system:
• Poor Roof Orientation: Placing solar panels in shaded areas significantly reduces their efficiency. Always
ensure your roof has maximum exposure to sunlight.
• Improper Wiring: Incorrect wiring can lead to energy loss and may even damage your equipment. Following proper
installation guidelines is crucial.
• Low-Quality Mounting Hardware: Using inadequate or cheap mounting hardware can compromise the stability of your
system, leading to damage over time.
Avoiding these mistakes will help ensure a long-lasting, efficient solar energy system.
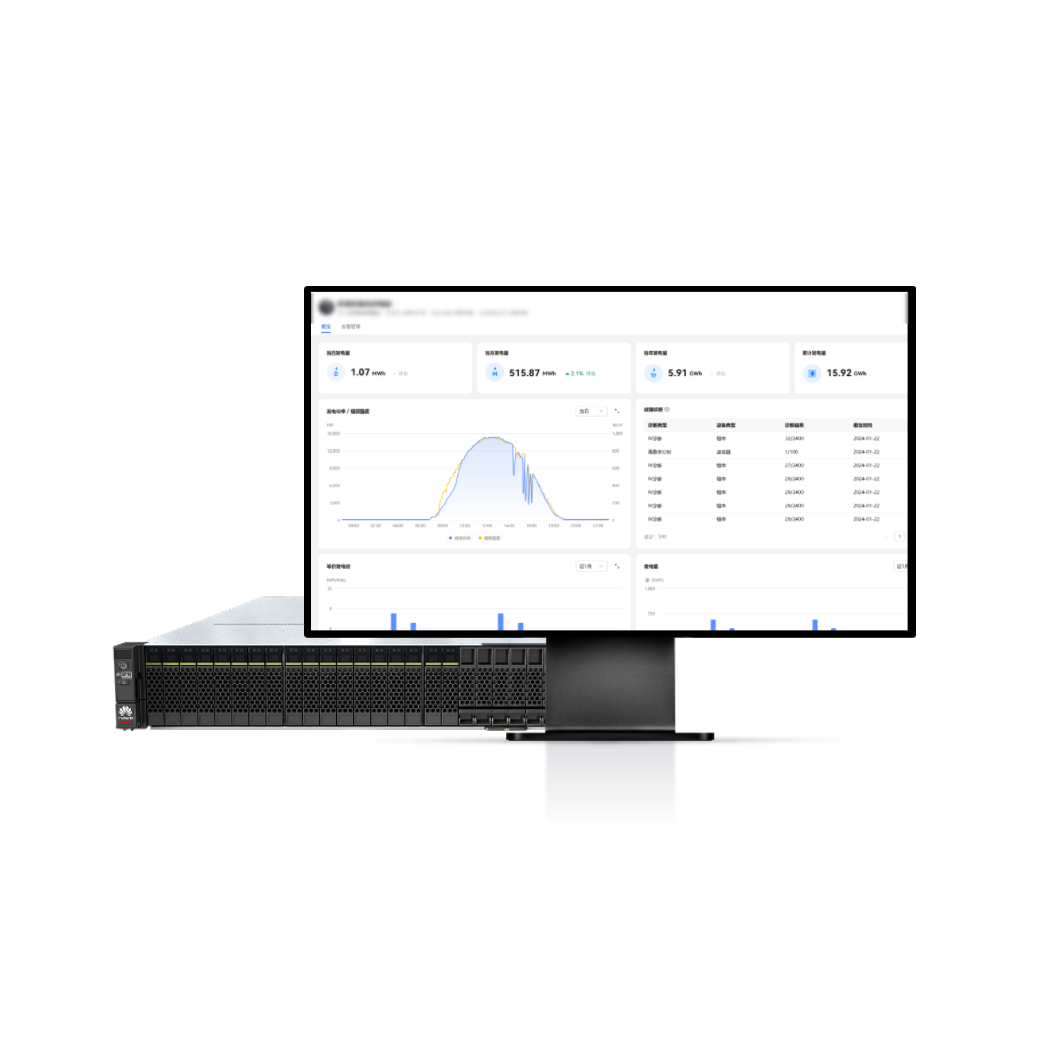
Final Steps: Testing and Monitoring Your Solar Power System
Once your solar panels are installed, it's time to test the system to ensure everything is functioning correctly.
Many modern solar systems come with monitoring software that allows you to track energy production and usage. This
is essential for optimizing your system’s performance and identifying potential issues early on. Regular
monitoring and maintenance will also help extend the life of your solar power system and ensure that it continues
to operate at peak efficiency.
Conclusion
By following these steps on how to install solar panels on your roof, you can enjoy the financial and
environmental benefits of solar energy. A well-installed system will significantly reduce your electricity costs,
increase your energy independence, and contribute to a more sustainable future. Whether you're planning on
installing solar panels on a tile roof yourself or hiring professionals, careful planning and proper installation
are key to a successful solar energy system.
FAQ
What should I consider when installing solar panels?
Before installing solar panels, consider factors such as your roof's condition, sunlight exposure, and local
regulations. Choosing the right type of solar panels and ensuring proper mounting solar panels on a tile roof will
directly impact your system’s performance and lifespan.
How long do solar panels last?
Most solar panels come with a warranty of 20-25 years, but with regular maintenance, they can continue producing
energy for up to 30-40 years.
Can I install solar panels on a flat roof?
Yes, you can install solar panels on a flat roof. By using angled mounting racks, the panels can be positioned to
capture maximum sunlight effectively.